Mantel Installation
DreamCast Concrete Fireplace Surrounds are designed to be easily installed in just a few steps.
A typical installation takes two people approximately four to six hours. Installation can be performed by a range of people from carpenters, masons, tile setters, general contractors and home owners with the proper tools and some DIY skills. Not all materials are provided, please refer to the preparation stage to ensure you have everything to get started.
Please read through the installation guide completely before beginning your install.
Step By Step Guide
1. Gathering Supplies
Here is what you’ll need to prepare for your installation, make sure you’ve acquired and organized all of these items before you begin!
INCLUDED WITH ORDER
- Concrete Surround pieces
- Concrete In-fill Panels (1″ matching material) (if specified)
- Concrete Hearth (if specified)
- Polyurethane adhesive
- Color matched caulking
- 3 oz bottle of concrete stain (for touch-ups, if needed)
- Shims for leveling
NOT INCLUDED WITH ORDER
- Measuring tape
- 4′-6′ Level
- Square
- Stud Finder
- Drill with Screw Attachment
- Large Caulking Gun (For Adhesive)
- Small Caulking Gun (For Caulking)
- 4″ – 4.5″ Angle Grinder with diamond blade (for cutting Hearth or In-fill Tiles)
- 2×4 Lumber (for mounting concrete pieces)
- Saw (for cutting mounting boards)
- Construction Screws
- 3/16″ Masonry drill bit
- Bucket of Clean Water, Sponge & Rags
- Floor Protection (if required)
2. Prepare Your Site
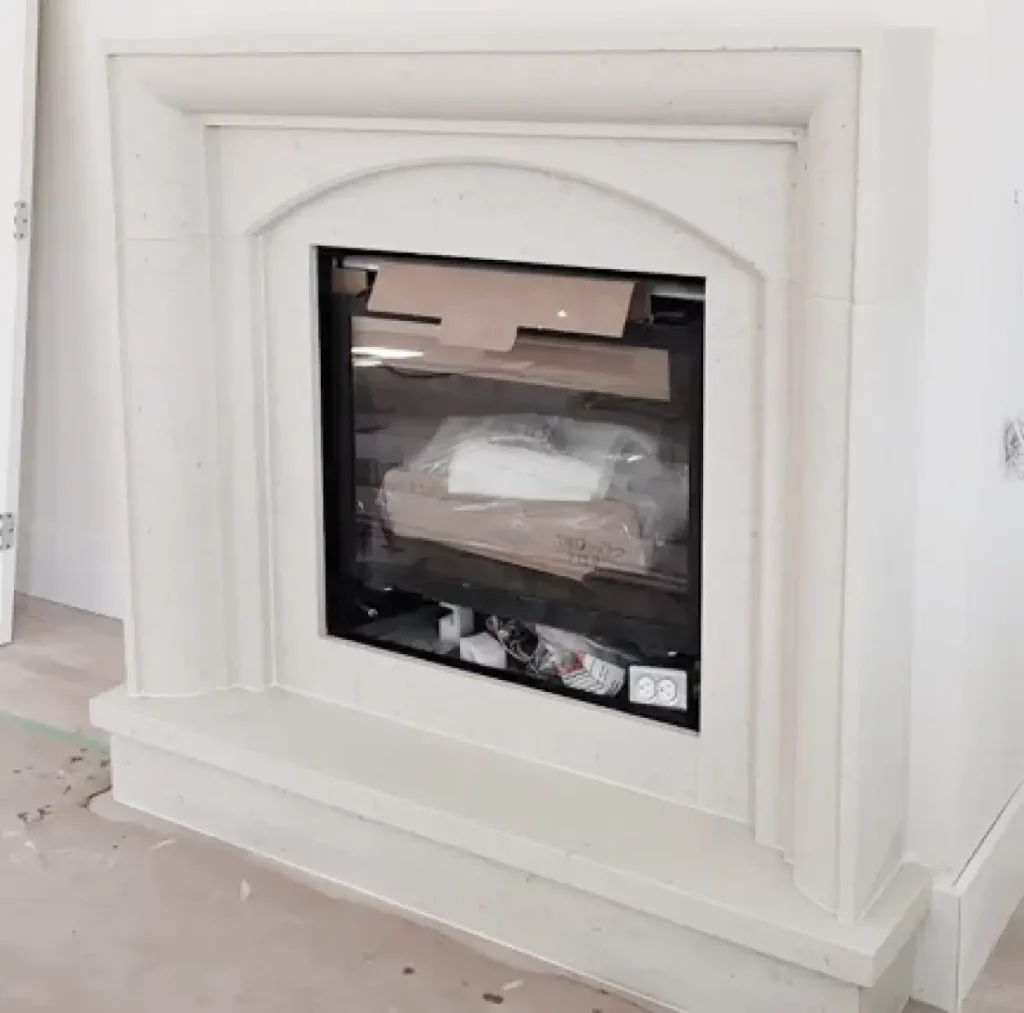
- Ensure the fireplace unit* is installed level and flush with the wall.
- Check that the area to be covered by the surround is clear of obstructions that may need to be moved.
(Gas Valve, Power Outlets, Light Switch, etc) - Lay down floor protection to protect floors from scratches and concrete from chipping.
3. Hearth installation
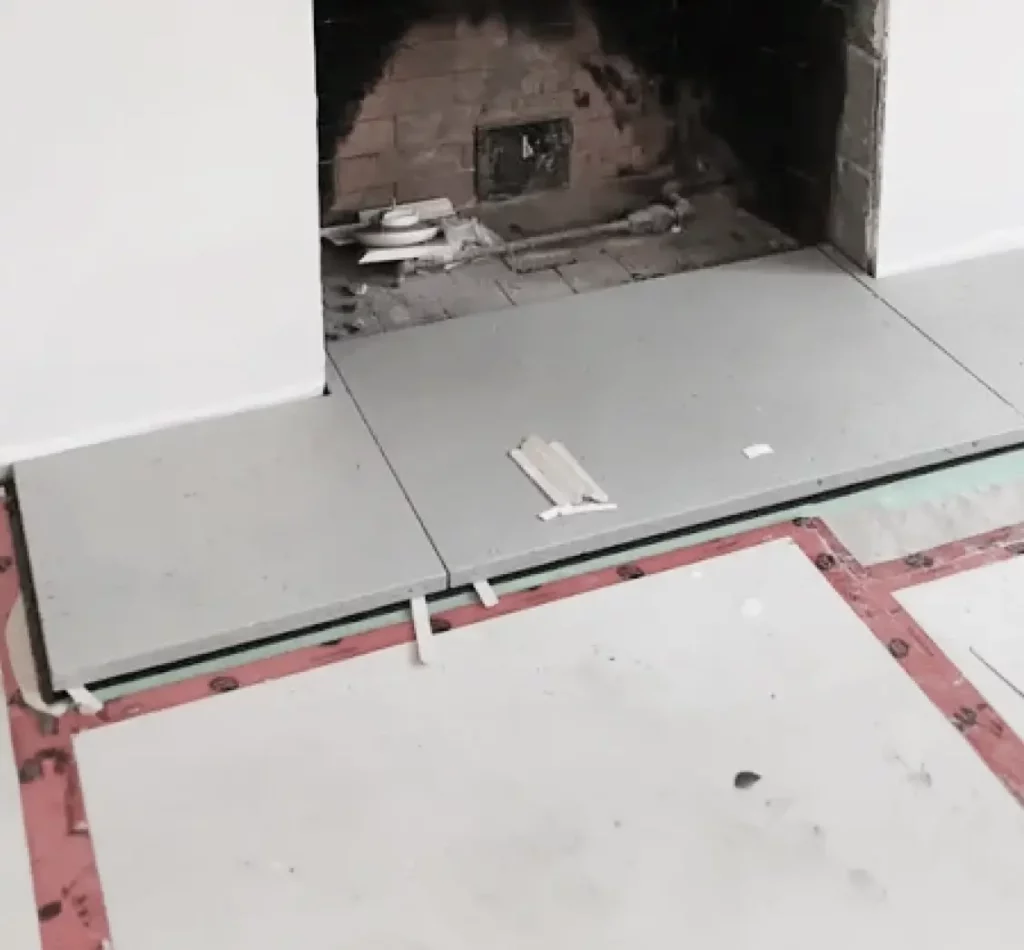
If using a Concrete Hearth, it should be installed first.
- Dry-fit the hearth pieces to ensure they fit as desired.
- Make any required cuts.
- Glue pieces to clean, dry floor.
- Allow glue to dry to prevent pieces moving during installation. * Please review the drying times of the adhesive used.
4. Install Legs
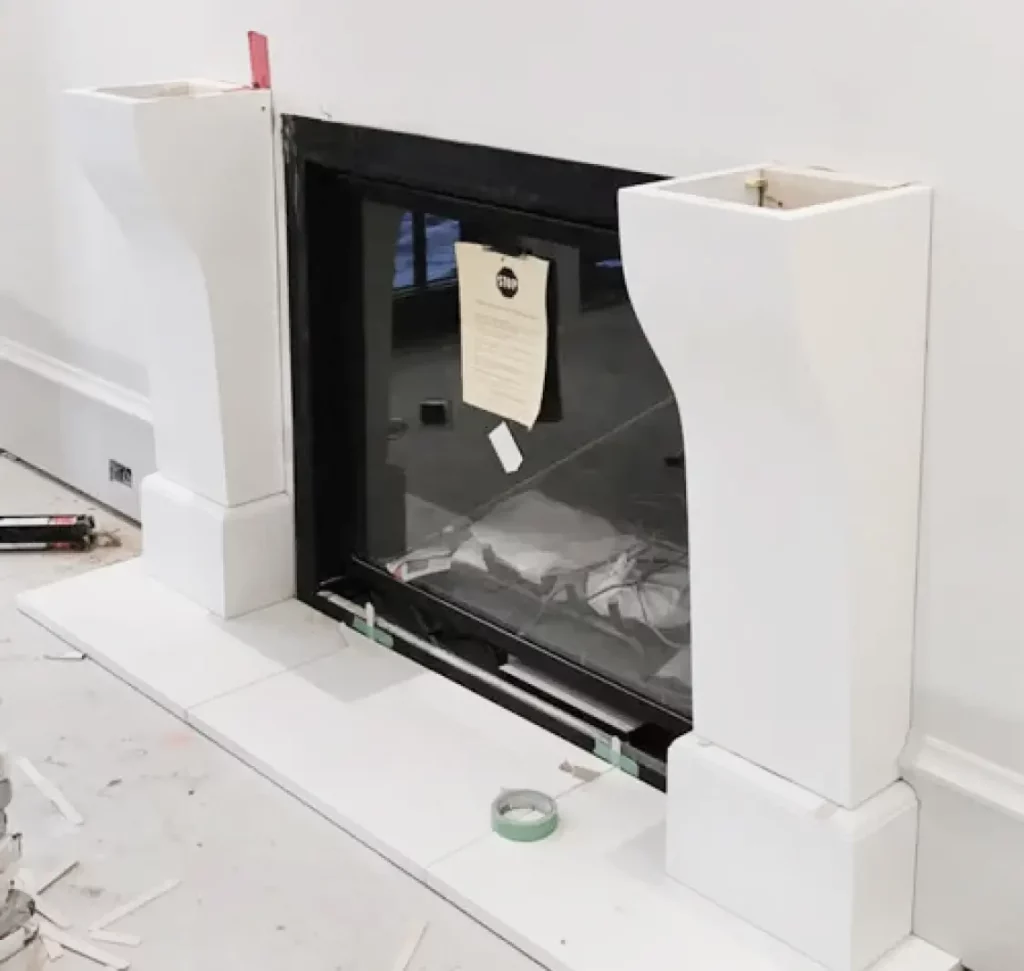
- Once the hearth is set, dry-fit the legs and mark their position on the wall.
- Install mounting blocks to the wall.
- Glue the legs in place and screw them into the mounting blocks.
5. Mantel Installation
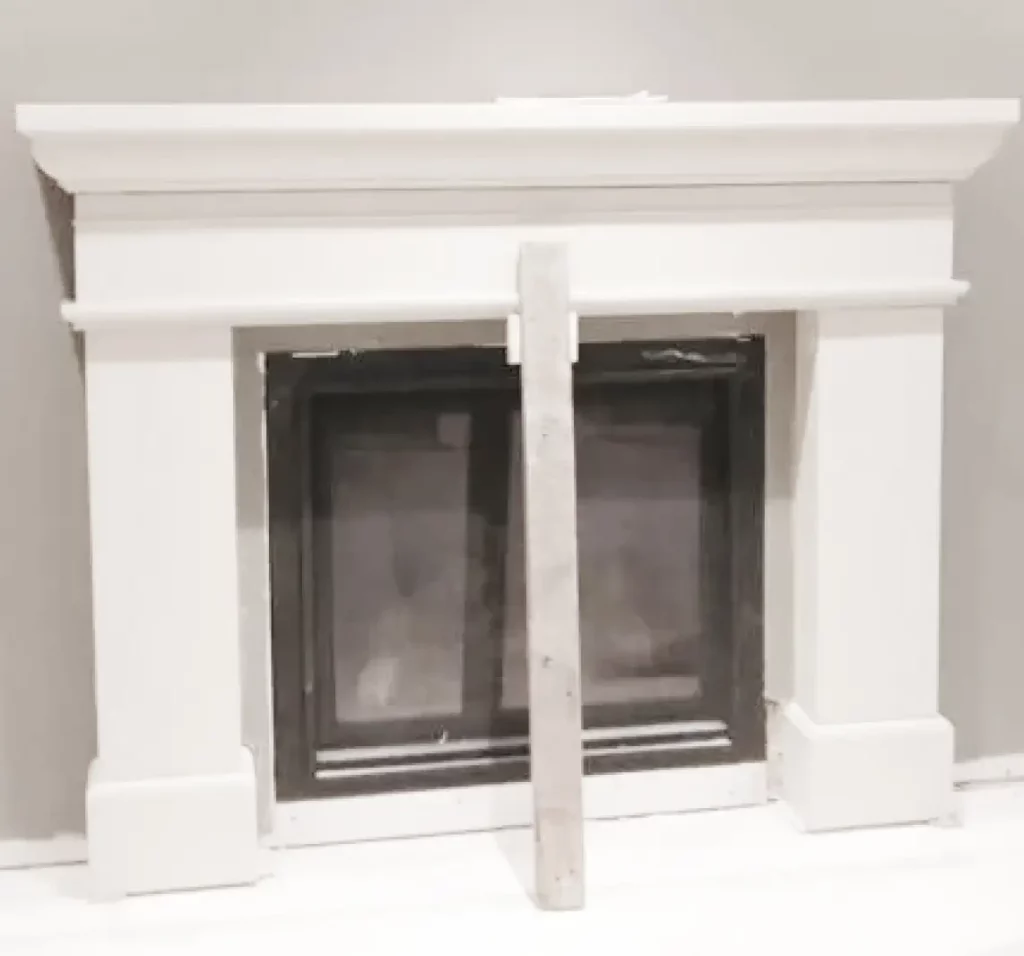
- Once the hearth is set, dry-fit the legs and mark their position on the wall.
- Install mounting blocks to the wall.
- Glue the legs in place and screw them into the mounting blocks.
6. Trim Panels
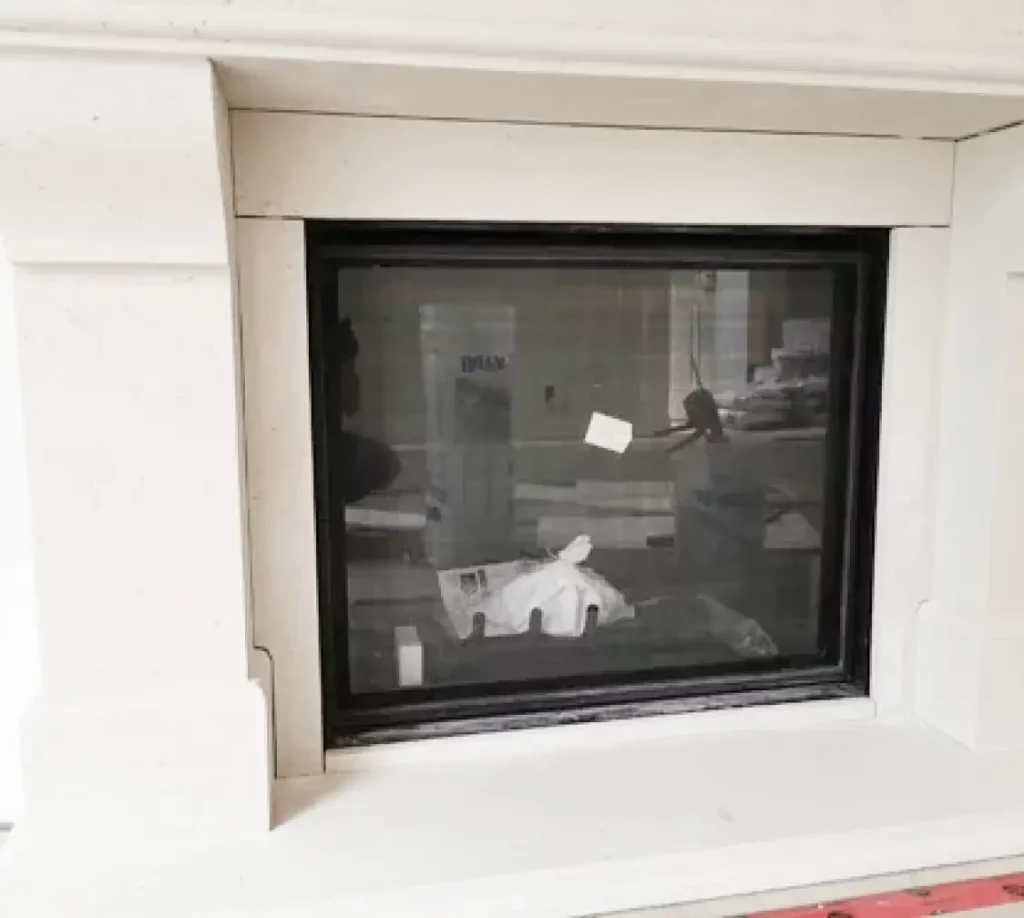
- Measure and cut trim panels to size using angle grinder.
- Glue panels in place around the fireplace.
- Support as required until glue has set.
7. Finishing
- Use mineral spirits to remove any visible adhesive.
- Caulk all the joints using the provided colour-matched caulking.
- Fill screw holes in mantel with colour-matched caulking.
- Clean fireplace surround with water to remove any caulking residue or dirt.
- Touch up any scuffs or scratches with the included touch-up stain.
Having Installation Issues?
Don’t make a mistake! Reach out and get help. We’re here to support you to the finish line.